Introduction
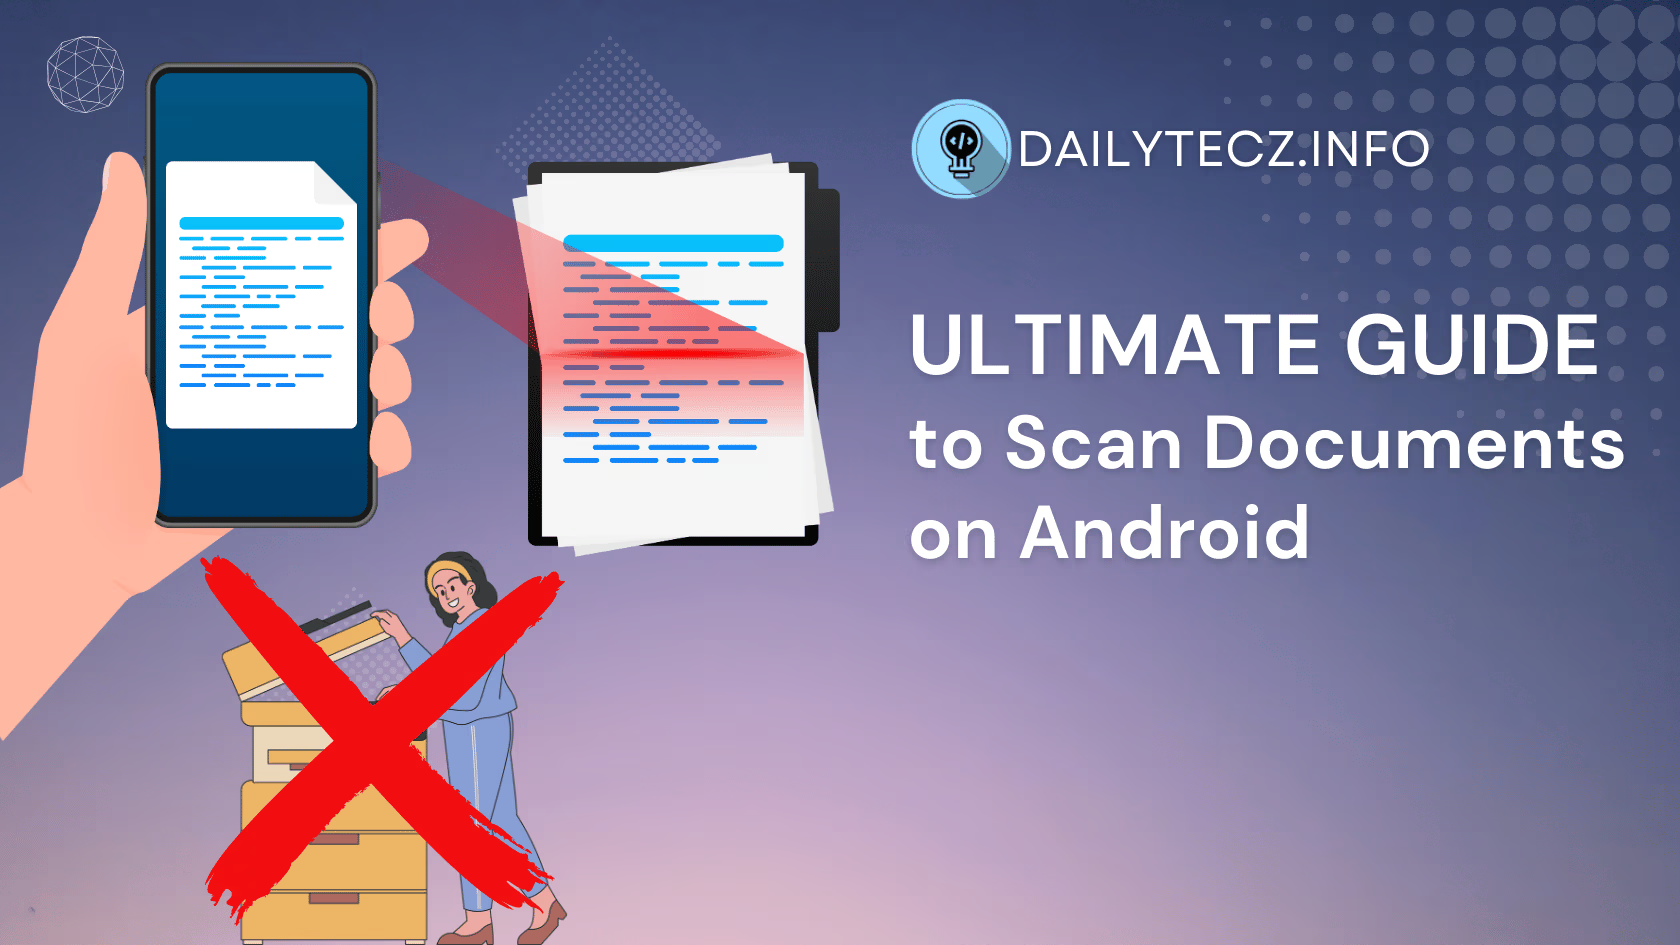
In today’s digital age, the need to convert physical documents into digital formats is more crucial than ever. Whether it’s for work, school, or personal use, having a reliable way to scan documents on-the-go can save time, space, and effort. With the power of Android smartphones, you no longer need bulky scanners or expensive software to digitize your papers. In this comprehensive guide, we will delve into everything you need to know about how to scan documents on Android, from using built-in features to leveraging powerful third-party apps.
How to Scan Documents on Android
Understanding Document Scanning on Android
What is Document Scanning?
Document scanning is the process of converting physical documents, such as printed papers, handwritten notes, or receipts, into digital formats like PDFs or images. This process involves capturing an image of the document using a scanner or a smartphone camera and then saving it in a digital format. Scanned documents can be easily shared, stored, and edited, making them highly versatile.
Why Use Android for Document Scanning?
Android devices offer a convenient and cost-effective way to scan documents. Here are some key benefits:
- Accessibility: Most people always have their smartphones with them, making it easy to scan documents anytime, anywhere.
- Cost-Effective: There’s no need for expensive scanning equipment; your Android device is often enough.
- Versatility: Android apps offer a range of features, from basic scanning to advanced editing and OCR (Optical Character Recognition).
- Integration: Seamless integration with cloud storage services like Google Drive and Dropbox allows for easy sharing and backup of scanned documents.
Built-in Features for Scanning Documents on Android
Google Drive’s Scanning Feature
One of the easiest ways to scan documents on an Android device is by using the built-in Google Drive app. Here’s a step-by-step guide:
- Open Google Drive: Ensure you have the Google Drive app installed on your Android device.
- Create a New Document: Tap the “+” button in the bottom right corner of the screen.
- Select “Scan”: This will open your camera with a scanning interface.
- Capture the Document: Align the document within the frame and press the shutter button.
- Adjust the Scan: Crop the image and adjust the corners if needed. You can also add more pages by tapping the “+” icon.
- Save the Scan: Choose the folder where you want to save the scanned document and hit “Save”.
Tips for Optimal Scanning:
- Ensure good lighting to avoid shadows.
- Place the document on a flat, contrasting background.
- Hold the device steady while capturing the image.
Google Photos Scan
Google Photos also offers a scanning feature called PhotoScan, specifically designed for photos but useful for documents too. Here’s how to use it:
- Download PhotoScan: Install the PhotoScan app from the Google Play Store.
- Open PhotoScan: Launch the app and follow the on-screen instructions.
- Capture the Document: The app guides you to move your phone over the document to capture it from multiple angles, reducing glare and enhancing quality.
- Save and Share: Save the scanned document to Google Photos or your device’s gallery.
Differences between Google Drive and Google Photos scanning:
- Google Drive is better suited for multi-page documents and offers direct integration with cloud storage.
- PhotoScan is ideal for single-page documents and photos, offering advanced glare reduction and color correction.
Best Apps for Scanning Documents on Android
Top Document Scanning Apps
While the built-in features on Android devices are convenient, dedicated scanning apps offer enhanced functionality and superior results. Here’s an overview of some of the top document scanning apps available for Android:
- Adobe Scan
- CamScanner
- Microsoft Office Lens
- Tiny Scanner
- Scanbot
These apps provide a range of features including advanced editing, OCR capabilities, cloud storage integration, and more. Below, we’ll dive into detailed guides for each of these top apps.
Detailed Guides for Each App
Adobe Scan
Features and Benefits:
- Automatic Text Recognition: Adobe Scan uses OCR technology to automatically recognize text in scanned documents, making it easy to search, copy, and edit text.
- Integrated Cloud Storage: Seamlessly integrates with Adobe Document Cloud, allowing easy access and sharing.
- Simple Interface: User-friendly design that makes scanning quick and intuitive.
How to Scan Documents Using Adobe Scan:
- Download and Install: Get Adobe Scan from the Google Play Store and install it on your device.
- Launch the App: Open Adobe Scan and sign in with your Adobe ID or create a new account.
- Capture the Document: Tap the camera icon to start scanning. The app will automatically detect the edges of the document.
- Review and Edit: Adjust the scan by cropping, rotating, or enhancing the image. You can also add new pages to the scan.
- Save and Share: Save the scanned document as a PDF and share it via email or cloud storage.
Pros and Cons:
- Pros: High-quality scans, robust text recognition, and seamless cloud integration.
- Cons: Requires an Adobe account, some features are locked behind a subscription.
CamScanner
Features and Benefits:
- Multiple Scan Modes: Offers modes for documents, IDs, and even whiteboards.
- Advanced Editing: Includes features like cropping, filters, and annotations.
- Collaboration Tools: Share and collaborate on documents directly within the app.
How to Scan Documents Using CamScanner:
- Download and Install: Install CamScanner from the Google Play Store.
- Open the App: Launch CamScanner and sign up or log in.
- Start Scanning: Tap the camera icon and position your document within the frame. The app will auto-detect the edges.
- Edit and Enhance: Use the built-in tools to crop, enhance, and adjust the scan.
- Save and Share: Save your scanned document as a PDF or image, and share it through various platforms.
Pros and Cons:
- Pros: Versatile scanning modes, excellent editing tools, and strong collaboration features.
- Cons: Contains ads in the free version, subscription required for premium features.
Microsoft Office Lens
Features and Benefits:
- Integration with Microsoft Office: Easily save and edit scanned documents in Word, OneNote, and OneDrive.
- Multiple Capture Modes: Includes modes for documents, business cards, and whiteboards.
- OCR Capabilities: Converts images to text, making it easy to edit and search.
How to Scan Documents Using Office Lens:
- Download and Install: Install Microsoft Office Lens from the Google Play Store.
- Launch the App: Open Office Lens and sign in with your Microsoft account.
- Capture the Document: Choose the appropriate mode and align your document within the frame.
- Edit and Enhance: Adjust the scan by cropping, enhancing, or adding text.
- Save and Share: Save the document to OneDrive, Word, or as a PDF, and share as needed.
Pros and Cons:
- Pros: Excellent integration with Microsoft Office products, multiple capture modes, and strong OCR capabilities.
- Cons: Requires a Microsoft account, fewer advanced editing features compared to some other apps.
Others: Tiny Scanner and Scanbot
Tiny Scanner:
- Features: Simple and fast scanning, multiple file formats (PDF, JPEG), document organization.
- How to Use: Open the app, scan the document, and save or share as needed.
- Pros and Cons: Easy to use, but lacks advanced features.
Scanbot:
- Features: High-quality scans, automatic detection, OCR, cloud integration.
- How to Use: Open the app, scan the document, and edit or save as needed.
- Pros and Cons: High-quality results, some features require a subscription.
Tips for High-Quality Document Scanning on Android
Getting high-quality scans using your Android device involves more than just pointing and shooting. Here are some tips and best practices to ensure your scanned documents are clear, readable, and professional-looking.
Lighting and Background
Importance of Good Lighting:
Proper lighting is crucial for capturing clear and detailed scans. Poor lighting can lead to shadows, glare, and uneven brightness, all of which can reduce the quality of your scanned documents.
Tips for Optimal Lighting:
- Natural Light: Use natural light whenever possible. Position your document near a window or in a well-lit room.
- Avoid Direct Sunlight: Direct sunlight can cause glare and harsh shadows. Instead, aim for diffused light.
- Use Artificial Lighting: If natural light isn’t available, use a desk lamp or another light source. Position the light to minimize shadows.
Choosing the Right Background:
A clean, contrasting background helps your scanning app detect the edges of the document more accurately.
- Solid Colors: Use a solid, neutral color background (e.g., white, black, or grey).
- Avoid Patterns: Busy or patterned backgrounds can confuse the app’s edge detection.
Positioning the Document
Ensuring the Document is Flat and Straight:
- Flat Surface: Place the document on a flat surface to avoid wrinkles and folds.
- Alignment: Align the document parallel to the edges of your scanning frame. This reduces the need for extensive cropping and editing.
Avoiding Shadows and Reflections:
- Hold Steady: Keep your device steady while capturing the scan. Use both hands or a tripod if necessary.
- Angle and Distance: Maintain a consistent distance from the document and avoid tilting your device to prevent distortions.
Resolution and Settings
Selecting the Right Resolution:
Higher resolution scans capture more detail but also take up more storage space. Here’s how to balance quality and file size:
- Standard Documents: Use medium resolution for text documents.
- Detailed Images: Use high resolution for images, drawings, or documents with fine details.
Adjusting Settings for Clarity and Readability:
- Brightness and Contrast: Adjust brightness and contrast to enhance text readability.
- Filters: Use filters to improve scan quality. Many apps offer options like black and white, grayscale, and color.
Practical Example: Scanning a Multi-Page Document
- Preparation:
- Ensure good lighting and a clean background.
- Place all pages on a flat surface in a well-lit area.
- Scanning:
- Open your preferred scanning app (e.g., Adobe Scan, CamScanner).
- Align the first page within the frame and capture the scan.
- Use the “Add Page” feature to scan subsequent pages.
- Editing and Saving:
- Review each scanned page for clarity.
- Crop, rotate, and adjust settings as needed.
- Save the entire document as a multi-page PDF.
Case Study: Improving Scan Quality:
Consider the example of scanning handwritten notes for a class project. By following the tips above—using natural light, a solid background, and a steady hand—you can achieve clear, legible scans. Adjusting the brightness and using a black-and-white filter can further enhance readability, making your notes easy to review and share.


